
DIY crafts for beginners don’t need fancy skills or a bunch of expensive stuff—you probably already have scissors, glue, and random materials sitting around your house. I’ve had the best luck with projects like no-sew fabric coasters, decoupage jars, and paper collages because they actually work, finish fast, and build your confidence for trying harder projects later.
Here’s what makes these projects so doable: you’re basically layering materials with Mod Podge, turning household scraps into things you can actually use while keeping stuff out of the trash. A typical project costs less than twenty dollars and takes about an afternoon from start to finish. The real appeal is that you don’t need to be good at crafts to end up with something you’ll actually want to keep or gift to someone.
Different projects fit different spaces and budgets, so the best one for you depends on what materials you have and how much time you want to spend. Whether you’re working in a small apartment or have a whole craft room, there’s something simple that will work.
What Makes a Craft Beginner-Proof?
I’ve noticed that some DIY projects feel totally doable while others make me want to hide in a closet. The difference usually comes down to a few specific things that separate beginner-friendly crafts from the ones that need real skill.
Beginner-proof projects share clear traits. They ask for minimal tools—scissors, glue, maybe a paintbrush if you’re fancy. You probably own these already or can grab them for a few dollars. The instructions are straightforward, with clear step-by-step guidance that doesn’t leave you guessing at what comes next. There’s no fancy jargon or weird techniques that require practice beforehand.
Beginner-friendly crafts need minimal tools, straightforward instructions, and zero fancy jargon—just clear steps from start to finish.
What really matters is finishing with something useful. When I make fabric coasters or decoupage a jar, I end up with an actual object I can use or gift. That quick payoff builds real confidence, which makes you want to try the next project.
Upcycling household items keeps costs low while you’re learning. Old pill bottles, paper plates, or glass jars become your materials. You’re not spending money on supplies you might waste, and you get to practice fundamentals on stuff that doesn’t feel precious.
The sweet spot is choosing tasks that feel manageable but not boring. Pick something that takes an afternoon or less to complete, uses materials you can find around your house, and follows simple instructions. When a craft checks these boxes, you’re actually set up to succeed instead of quit halfway through.
Stock Your DIY Craft Kit on a Budget
Now that you know what makes a project actually doable, let’s talk about gathering your supplies on a real budget. I’ve found that starting simple saves money and prevents overwhelm.
Grab these multipurpose basics first: Mod Podge, scissors, a ruler, and basic brushes show up in countless beginner projects. Add a small stack of mixed paper, fabric scraps, and glue sticks to your pile. I also recommend collecting empty jars and containers for upcycling projects—you’ll be shocked how far these basics stretch.
Start with quick wins like no-sew fabric coasters or decorated jars to build your confidence. You’re not investing in specialized supplies here; you’re investing in versatility. That’s the real budget approach.
Budget-Friendly DIY Projects Under $20
Most of the best beginner projects I’ve tackled cost less than $20, and I’m not exaggerating—they genuinely do. I’ve decorated glass jars with Mod Podge and fabric scraps, created no-sew coasters from an old scarf, and made paper bead jewelry without spending much at all.
The trick is using materials you probably already have lying around. Recycled-material projects are my favorite discoveries because they work so well. I’ve transformed pill bottles into organizers and magazines into decorative bowls. These projects are inexpensive entry points that don’t require specialized tools or fancy supplies.
Even simple wooden lanterns and floating shelves become doable when you approach them as beginner-friendly tutorials. You don’t need to buy everything new. Start with what’s in your junk drawer or closet, and you’ll build real skills along the way.
Paper and Decoupage Crafts for Instant Results
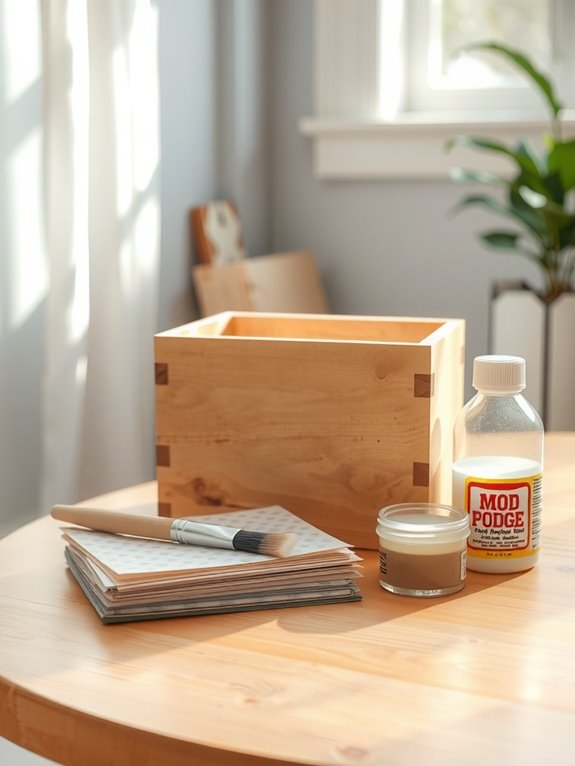
I reach for Mod Podge projects whenever I want to refresh something around the house without spending hours on it. A painted flower pot, decorated jar, or lamp shade makeover typically takes me less than an hour to complete, and the results are something I’m actually happy to display or give as a gift.
What really keeps me coming back is raiding my scrap pile. Old magazines, fabric scraps, and wrapping paper that would otherwise end up in the trash become the stars of these projects. I cut up pages, brush on some glue, and watch a plain mason jar shift into something that looks like it belongs in a gallery. It’s that immediate payoff—seeing the before and after happen right in front of you—that makes these crafts so satisfying.
The best part is how simple the whole thing is. You don’t need special skills or expensive supplies. Just grab whatever paper scraps you have around, some Mod Podge, and a brush, and you’re ready to go.
Mod Podge Home Decor Projects
Why spend money on expensive home décor when you’ve got Mod Podge, some old magazines, and an afternoon to spare. I’ve discovered that Mod Podge turns ordinary items into pieces worth displaying—fabric scraps become coasters, glass jars turn into storage containers, and lampshades get actual personality.
What I love most is how hard it is to mess this up. The process is simple: you apply Mod Podge, arrange your materials, then seal everything with another coat. No permanent gluing means you can experiment without stress. No-sew fabric options add even more flexibility for people who get nervous around craft projects.
I’ve made photo collages for under $20, decorated light switch covers with leftover paper, and upcycled newspaper into papier-mâché bowls. The tutorials guide you through basic layering techniques that feel manageable from the start. Ordinary materials become personal and useful.
What started as budget-friendly crafting became my favorite way to make spaces feel like mine. When you finish your first project and actually use it or display it, you’ll feel that same satisfaction I did.
Upcycling Materials Into Art
Once you nail the Mod Podge basics, you’re ready to turn your household scraps into real art—the kind worth keeping on display. Upcycling with paper and decoupage is where the fun actually happens because you’re using materials you already have at home.
I’ve found that fabric scraps, old magazines, and tissue paper become great coasters, decorative jars, and wall art just through layering and adhesive. The cool part is how fast you see results. Magazine bowls take about an afternoon to finish. A fabric-covered lampshade can brighten up a corner by evening. These projects show you don’t need expensive supplies to join the maker community—just creativity and stuff you were going to throw away anyway.
That’s when crafting really clicks for me: when I realize I can make something nice without spending much money. The satisfaction comes from knowing I gave old materials a second life instead of tossing them.
DIY Upcycling: Decor From Household Items
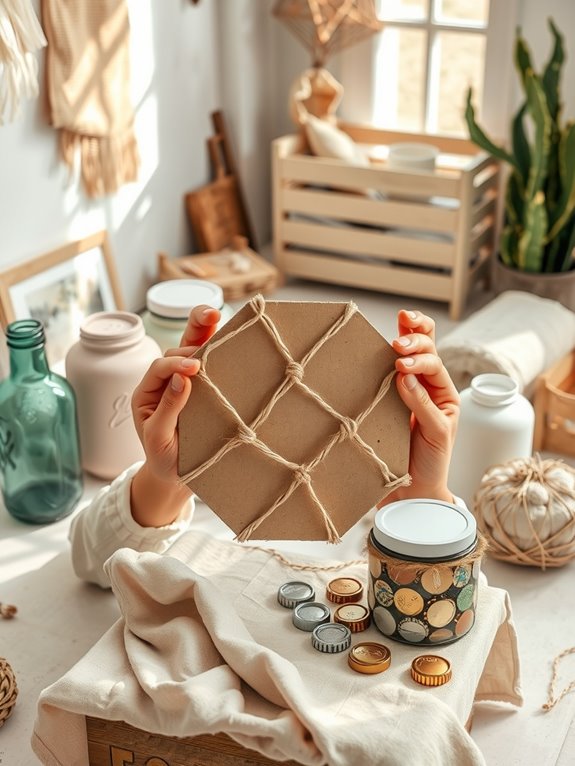
I started noticing how much stuff I was throwing away, so I decided to try upcycling. It turned out to be the best way for me to decorate on a tight budget, and now I can’t imagine doing it any other way.
I began with things already scattered around my house: old glass jars, fabric scraps, and stacks of magazines. Using Mod Podge and decoupage—just scissors, glue, and whatever creativity I could find—I turned those jars into vases and desk organizers. No sewing skills needed.
From there, I kept going. I made coasters from old tiles I had in a box, turned small pill bottles into pencil holders, and created magazine bowls using pages rolled and glued into shape. Each project cost me nothing because I was using materials destined for the trash.
What I like most is how every project teaches me something new. I learn better ways to apply glue, which materials work best together, and how to see potential in things I used to overlook. At the same time, I’m keeping things out of the landfill and using my hands to create instead of buying something new.
You probably have the same materials in your home right now. Look around your house—those jars from pasta sauce, old fabric from clothes you don’t wear anymore, magazines piling up. That’s your starting point.
No-Sew and Low-Skill Fabric Projects
I’ve found that you don’t need a sewing machine to have fun with fabric projects. Working with scraps and simple adhesives like Mod Podge or hot glue opens up a whole world of possibilities without the intimidation factor of threading a needle.
The easiest approach is sticking to beginner-friendly materials—lightweight fabrics, basic supplies you probably have at home, and projects that don’t punish you for imperfect edges. Old scarves become coasters. Fabric pieces cover boxes with decoupage medium. The trick isn’t skill or fancy equipment. It’s choosing the right combination of materials and methods from the start.
You’ll want to gather supplies before you begin: Mod Podge or a similar decoupage medium, a foam brush or sponge (about 1 inch wide works well), lightweight cotton or linen fabric, scissors, and a smooth surface for applying adhesive. Hot glue works for attaching pieces quickly, though it dries faster than decoupage medium, so you have less time to adjust placement.
Start with small projects that build your confidence. A 4-by-4-inch coaster takes about 10 minutes to complete once your materials are ready. Cut your fabric into manageable pieces—roughly 2-3 inches across—so they lay flat without bunching. Apply a thin, even coat of adhesive to your base, press the fabric down gently, smooth out air bubbles with your fingers, and let it dry according to the product instructions, usually 24 hours.
No-Sew Coaster Basics
Fabric coasters might sound too fancy for someone just starting out, but they’re genuinely doable. I discovered that decoupage—basically gluing fabric to a base with special medium—lets you turn old scarves into coasters in less than an hour.
Here’s why this works so well for beginners: it asks nothing of your sewing skills. You cut fabric scraps into small squares, brush decoupage medium onto cork or wood coaster bases (usually 4 inches square), and press the fabric down firmly. That’s the whole process.
The coasters come out looking intentional and a little vintage, like you’ve been doing this for years. They actually protect your tables too, which means they’re both pretty and useful. I’ve made sets for friends, and they always think I spent way more time on them than I did.
This project shows that beginner-friendly doesn’t have to mean basic. You’re making something real that people will actually use.
Fabric Scrap Upcycling
Once you’ve finished making a few coasters, you’ll start noticing fabric scraps everywhere—in your scrap bin, your closet, even that pile under your sewing table. That’s when upcycling gets really fun because those old pieces don’t have to become trash.
Those worn jeans, forgotten scarves, and leftover fabric pieces can turn into something useful or beautiful with just a little creativity. DIY patchwork jeans let you cover up rips or stains with simple patches sewn on top, turning damaged denim into something you’ll actually want to wear. You can also use Fabric Mod Podge to add glitter and texture to old shirts without needing a needle and thread at all. Even containers like mason jars and cardboard boxes become nice decor pieces when you glue fabric scraps to them using basic decoupage—just cut your scraps into shapes, brush on some glue, and smooth them onto the surface.
What I really like about these projects is that they don’t require perfection. You’re learning as you go, making mistakes, and figuring out what works. There’s a whole community of people doing the same thing, all believing that materials deserve a second life instead of heading to the landfill.
Beginner-Friendly Material Selection
Beginner-Friendly Material Selection****
I’ve made plenty of gifts that people actually use, and here’s what I learned: you don’t need fancy supplies or years of practice to pull it off. The materials that work best are the ones sitting around your house right now.
Let’s talk specifics. Mod Podge costs about $4 to $6 a bottle and works great for decoupage projects like coasters or small boxes. You layer patterned paper or magazine cutouts onto your base, seal it with the adhesive, and end up with something that looks intentional. Fabric scraps from old scarves, t-shirts, or clothing work beautifully for no-sew projects—just grab a piece roughly 8 to 12 inches square, and you’ve got material ready to use. Tissue paper and a basic glue stick or liquid adhesive let you decorate vases with minimal mess.
The honest part: I don’t shop at specialty craft stores unless I absolutely have to. I check what’s already in my closet, my junk drawer, or my recycling bin first. Using these household items with simple techniques like decoupage actually produces polished results. You’re not aiming for perfect here. You’re aiming for something real that you made yourself.
Simple Home Organization Crafts You Can Make
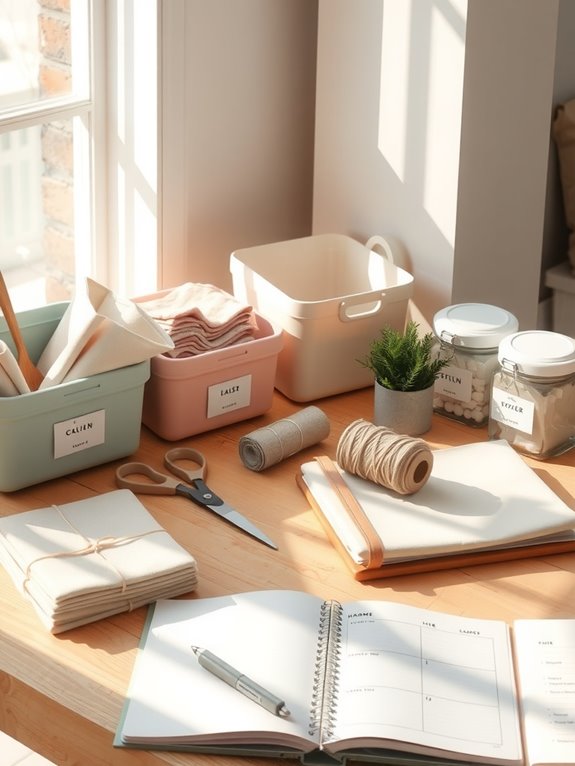
Our homes fill up with clutter before we realize it’s happening, and I’ve learned that making your own organizers beats buying them every time. You save money, you get exactly what you need, and there’s something satisfying about creating storage from stuff you already have around the house.
A cord organizer is one of the easiest projects to start with. Grab a few empty toilet paper tubes or paper towel tubes and wrap them tightly with fabric scraps or old t-shirt strips using hot glue or regular tape. Stand them upright in a small box or container, then coil each cable inside its own tube. I use about 3-4 tubes for a typical desk setup, and it keeps things from looking like spaghetti under there.
Old pill bottles work surprisingly well for small items you need to see and grab quickly. Once they’re clean and dry, peel off the labels and fill them with buttons, screws, safety pins, or beads. A standard medicine bottle holds maybe 20 small buttons comfortably, so stack a few in your junk drawer or on a shelf.
Thrifted trays give you instant storage with character. Look for shallow wooden or metal trays at secondhand stores for a couple dollars, then fill them with your small organized items or use them to corral remotes and phone chargers on a side table.
Garden markers made from old metal spoons add a practical touch while looking intentional. Mark your drawers or bins with a permanent marker, or use them as decorative labels in a pantry or craft room.
You don’t need skills or expensive supplies for any of these projects. You’re using things heading to the trash and giving them a second purpose.
Easy Paper Craft Techniques for Beginners
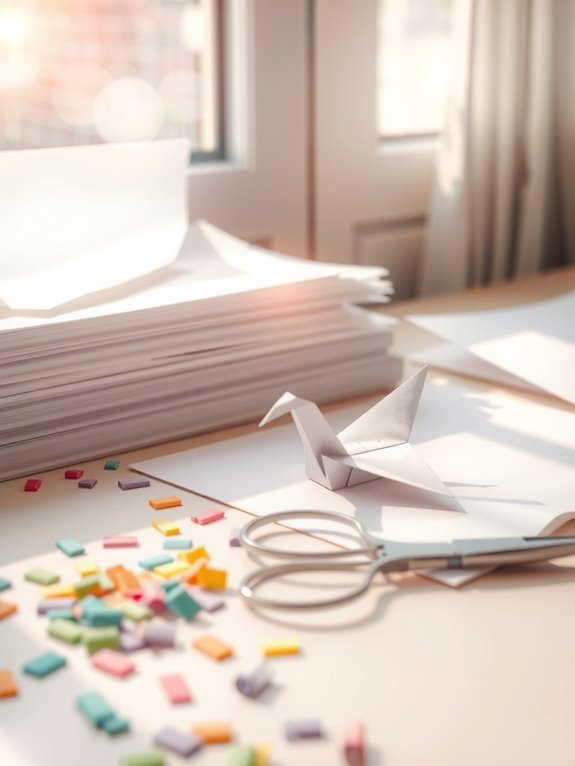
I discovered that paper folding is the real foundation of papercrafting. Once you can crease clean lines and understand how a flat sheet folds into something with depth and dimension, everything else clicks into place.
The techniques that actually hooked me were simple collage and decoupage. You need scissors, glue, and torn or cut magazine pages—that’s it. I made personalized coasters by gluing 2-by-3-inch magazine cutouts onto cardboard bases, then sealed them with clear acrylic spray. The same method worked for decorating storage bowls: I cut images into small pieces, arranged them around a wooden bowl, glued them down with craft adhesive, and finished with two coats of matte varnish.
What matters most is that you don’t need fancy supplies or years of practice to make something good enough to keep or give away. The results from these basic methods are satisfying because they’re actually yours—not something expensive or complicated, just something you made with your hands.
Basic Paper Folding Techniques
Let me show you how simple creases can turn a flat sheet of paper into something useful and satisfying. Paper folding doesn’t require fancy materials or special skills—just patience and practice.
Here’s what works best when you’re starting out:
- Begin with lightweight printer or craft paper to practice valley and mountain folds without getting frustrated. These basic papers are forgiving and cheap.
- Use a flat, smooth surface and align your edges carefully for crisp, clean creases. A ruler helps here.
- Start with repeatable projects like paper beads before moving to complex origami. Building confidence matters more than rushing ahead.
I began with basic techniques and gradually worked up to heavier paper stock once I felt solid with the fundamentals. When I combined simple folds into patterns, I created functional items like paper plate bowls—things that actually held their shape and did what I intended. The real satisfaction comes from building skills you can see working right in front of you, not just completing a project and moving on.
Simple Collage and Decoupage Methods
Collage and decoupage sound like they belong in an art school, but honestly, they’re just controlled gluing. That’s what makes them so doable for beginners like me. The whole process comes down to layering paper, fabric, or magazine clippings onto surfaces, and Mod Podge handles the job from start to finish.
Here’s what actually happens: you tear or cut your materials into pieces, brush on a thin coat of Mod Podge with an old paintbrush, press everything down firmly, and seal the whole thing with another layer on top. The process takes maybe 10 to 15 minutes of hands-on work, depending on how detailed you want to get. You’re not juggling multiple adhesives or learning complicated techniques—it’s just those basic steps, repeated.
I’ve decorated glass vases, upcycled thrifted boxes, and covered canvas with scraps I had sitting around. The forgiving nature of the medium means small mistakes disappear once everything dries. Since Mod Podge costs about $5 to $8 per bottle and lasts through several projects, your actual spending stays low. The real payoff is watching old magazines and fabric scraps become something you’d actually put on a shelf.
Kid-Friendly Family Crafts

When’s the last time you sat down with your kids and just made something without stressing over how it looked. That’s exactly what these family crafts are about—keeping things simple, fun, and messy in the best way possible.
When you let go of perfection, everyone relaxes. That’s when real laughter and connection happen around the craft table.
Here’s what actually works in our house:
Easy Crepe Paper Flowers use basic mod podge and fabric scraps. You’ll need crepe paper in a few colors, a small container of mod podge, old fabric pieces, and a paintbrush. Tear the crepe paper into petal shapes about 2-3 inches long, brush mod podge on the back, and layer them onto a cardboard circle base. My kids spend twenty minutes on this and feel genuinely proud.
DIY Corner Bookmarks take just a few steps. Fold a piece of cardstock diagonally twice to create a triangle, then decorate with markers, stickers, or colored pencils. Cut out the shape, and you’ve got a bookmark that slides right over a page corner. This one’s especially good because it’s done in less than ten minutes.
Popsicle Stick Bracelets let kids make their own jewelry. Soak wooden popsicle sticks in warm water for about fifteen minutes to soften them, then wrap each one around a glass or can while it’s still flexible. Once dry, decorate with paint, markers, or yarn wound around the stick. Your kid can actually wear what they made.
You don’t need anything fancy or expensive. My kids love decorating ceiling fans with paper cutouts, and personalizing their own pencils with markers and stickers makes them feel special. These activities celebrate creativity instead of getting hung up on whether something looks “right.” You’re building memories with your kids, not creating art for display. When you let go of perfection, everyone relaxes. That’s when you actually get real laughter and connection happening around your craft table.
Quick Craft Gift Ideas
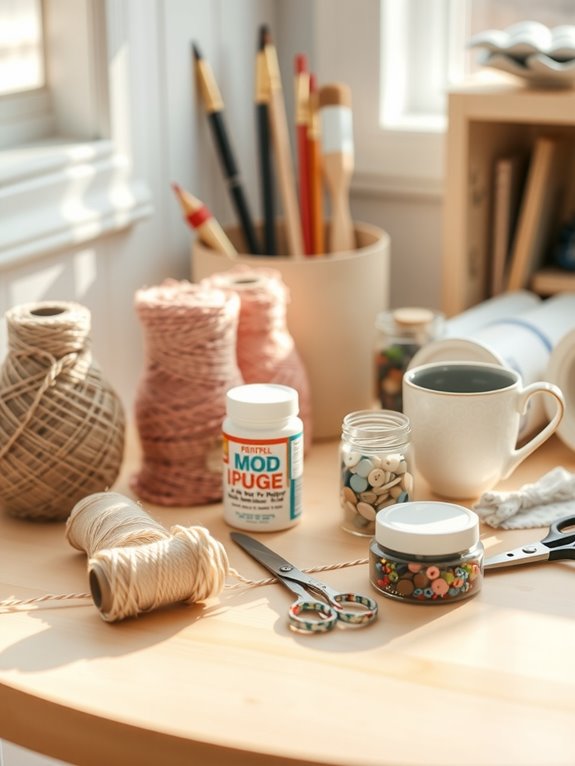
Why spend money on store-bought presents when you’ve got supplies sitting around your house. I’ve discovered that creating quick gifts doesn’t require fancy materials or advanced skills—just stuff like Mod Podge, scrap paper, and things you’d normally toss out.
I love making magazine bowls with lids using old magazines and a brush to apply Mod Podge layer by layer, or decorating glass vases with tissue paper cut into small squares. These projects take an afternoon and look polished when they’re done. Paper beads made from rolled magazine strips strung on fishing line become necklaces people actually wear. Bottle cap magnets are equally simple—glue a magnet strip to the back of painted caps, and you’ve got small gifts for the fridge.
The best part is how low the barrier to entry feels. No-sew fabric coasters need just scissors, fabric squares, and iron-on adhesive tape applied between two 4-inch pieces. Denim patchwork from old jeans requires needle and thread but no special experience. Step-by-step tutorials walk you through each stage so you’re not guessing.
These handmade gifts cost just a few dollars total but feel thoughtful because someone spent time making them. When you’re part of this crafting community, you realize homemade always carries more weight than something expensive from a shelf.
Decorative Projects for Walls and Surfaces
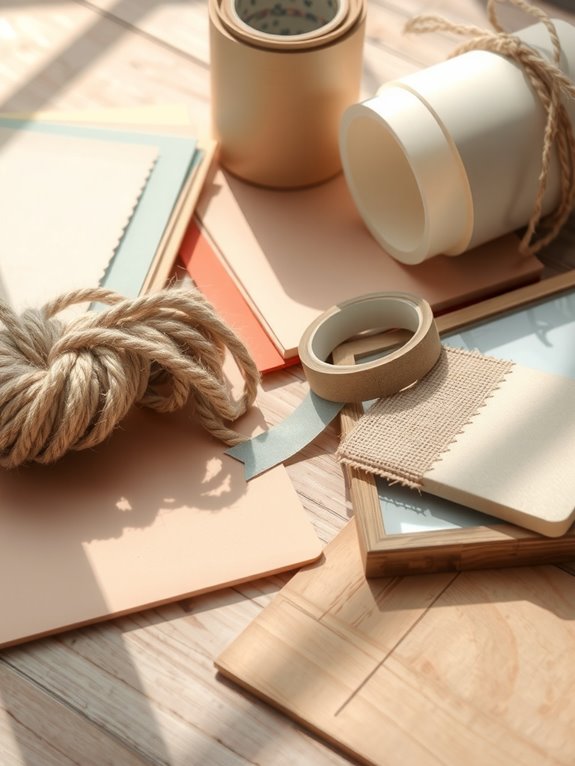
I’ve found that bare walls don’t need fancy skills or a big budget to look better. You can start with materials you probably have around your house, and honestly, the projects are forgiving enough that mistakes just become part of your design.
A photo collage using Mod Podge is my go-to move. You layer your favorite snapshots directly onto canvas or drywall, and the whole thing costs under $20. The steps are simple: cut your photos into different sizes, brush Mod Podge onto the wall or canvas, stick each photo down, then seal everything with another layer of Mod Podge on top. Let it dry for about 24 hours before you touch it.
String and yarn displays work really well if you want something geometric. Stretch colorful twine across a frame or directly on the wall to create patterns—diamonds, grids, or abstract designs all look good. The twine catches light as you move around the room, which gives the wall more dimension than you’d expect from something so simple.
Painted surface projects like ombre canvas art let you play with color gradients. Start with a base color on your canvas, then blend a second color into it while the paint is still wet. A 16-by-20-inch canvas gives you enough space to practice without feeling too big. The blending doesn’t have to be perfect—soft transitions actually look more natural than a sharp line between colors.
These projects work in bedrooms, living rooms, or small apartment corners. The nice thing is you can adjust the size and colors to fit whatever space you’re working with.
Photo Collage Wall Art
I started making photo collages on canvas because I had a bunch of printed photos sitting in a drawer and wanted something personal on my walls without spending much money. This project costs around $15-20 total and works with just a few basic supplies: printed photos, Mod Podge, and a backing surface like canvas or cardboard.
Here’s the simple process. First, arrange your photos on the surface however you like—there’s no right way to do this part. Then apply Mod Podge between each layer as you go, which acts as both glue and sealant. Once everything dries completely, you have a finished piece that actually shows who you are instead of generic wall decor.
What I like most is that this project feels personal. You’re taking your own memories and turning them into something you see every day. It’s beginner-friendly because there’s nothing to mess up, and you can peel things off and rearrange if you change your mind. The whole thing takes an afternoon, and the result looks like you put real effort into it.
Painted Surface Transformations
Once you get comfortable gluing photos onto surfaces, the next step is adding paint and other materials to turn basic objects into something you actually want to display. I really enjoy using decoupage on everyday items like mason jars, vases, and lampshades by layering colorful paper, fabric, or tissue directly onto the object, then sealing everything with a protective coating.
What makes this technique work so well is how simple it actually is. I started by grabbing scraps from old magazines and wrapping paper I had sitting around the house. That boring mason jar suddenly looks like something worth putting on a shelf or bathroom counter.
You won’t need to buy a bunch of stuff either. Pick up a bottle of Mod Podge (around $4-6), grab a basic brush, and use materials you already have at home. Spend an afternoon on this, and you’ll have made something that actually feels like you.
Here’s the basic process: paint your base object with one coat of Mod Podge using your brush. Cut your paper or fabric into pieces roughly 2-4 inches across, depending on your design. Apply another thin layer of Mod Podge to the surface, then press your cut pieces down, working out any bubbles with your fingertips. Once everything is dry (usually 30-45 minutes), seal the entire piece with 2-3 coats of Mod Podge, letting each coat dry between applications.
String And Yarn Displays
String and yarn projects are honestly my favorite way to fill up blank walls because you’re working with stuff that’s probably already sitting in a drawer somewhere. I’ve found that these pieces look way more polished than they should, considering how simple they are to make.
Here’s what makes them so doable:
- You really only need scissors, glue, and tape
- Materials cost almost nothing, so trying different designs feels low-pressure
- You can go geometric, abstract, or macramé-inspired—whatever appeals to you
The basic approach is straightforward. Wrap yarn around simple frames, use nails and string to create outlines on canvas, or add tassels for some texture. What I like most is how flexible these pieces are. A 12-inch square frame works great for a small accent wall, while a 24-by-36-inch canvas becomes a real focal point. Pick colors that match what’s already in your room, and the whole thing looks like you planned it all along. That’s the real win with string and yarn—you get something personal and intentional without needing any special skills.
Mistakes Beginners Make (And How to Fix Them)
Mistakes Beginners Make (And How to Fix Them)
I used to think bigger was always better when starting out, and I jumped into projects way too complicated for where I was at. After making plenty of mistakes, I figured out what actually works. Here’s what changed how I approach making things.
Keep your first projects simple and independent so you can finish them without feeling stuck. Pick one task that doesn’t depend on other steps, and use tools and materials you already have at home. This builds real confidence because you’re working with what’s familiar.
When a tutorial exists for what you want to make, follow it step-by-step without skipping ahead. Skipping parts is how I ended up frustrated and having to redo work. Those detailed instructions exist because people learned the hard way what happens when you rush.
Budget for supplies before you start, not halfway through when you’ve already spent money on things you didn’t need. For a basic beginner project, I spend about fifteen to twenty dollars on supplies I’ll actually use. Knowing the cost upfront keeps you from buying stuff just because it exists.
If you’re reusing something from around your house like a jar or bottle, wash it thoroughly with hot soapy water and let it dry completely. Check it for cracks or rough spots that could cause problems later. Safe materials are the only ones worth using.
Where to Buy DIY Craft Materials on a Budget
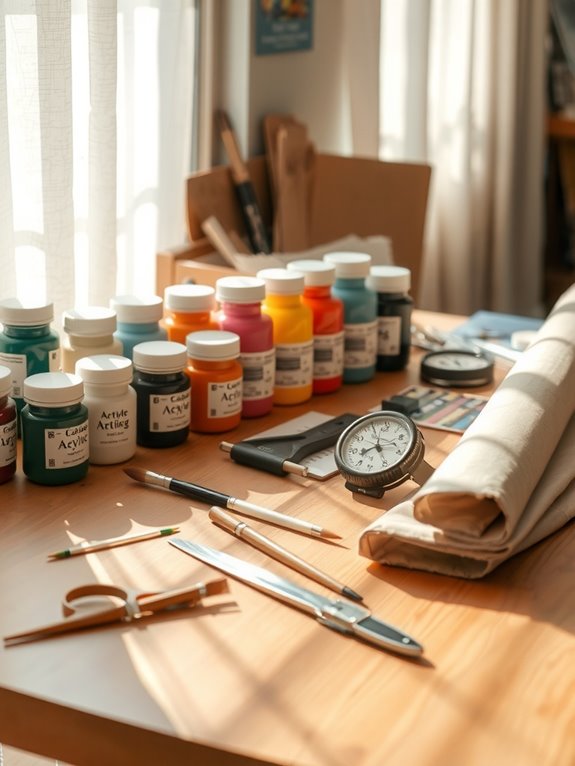
I figured out pretty quickly that finding good craft supplies on a budget isn’t actually that hard once you know where to look. The trick is being intentional about what you buy and when you buy it.
Home improvement retailers like Home Depot have beginner tutorials right there on their websites, and you can grab basic supplies like wood, nails, and paint at reasonable prices. Recycled household items are your secret stash—jars, pill bottles, paper scraps, and old fabric scraps cost nothing and work for tons of projects. Online free printables and no-sew fabric guides help you practice before spending money on specialty supplies like embroidery thread or specialty scissors.
I buy essentials first, then pick up tools as I actually need them for each project instead of dropping cash upfront on everything. A $5 wooden frame, a $3 jar of paint, and some scrap paper cost way less than buying a full craft kit. Using versatile materials means one item works across multiple projects. Starting simple with basic supplies keeps my spending low and makes finishing projects feel doable. You really don’t need to own everything at once.
Three Intermediate Projects to Master Next
Once you’ve got the basics down—decoupage, simple painting, basic upcycling—it’s time to push yourself a little further. I’m going to walk you through three projects that’ll stretch what you can do without making you feel lost.
Pom Pom Wall Hanging
Start with a decorative pom pom wall hanging. You’ll work with texture and learn how to space things evenly, which sounds simple until you’re actually trying to make six pom poms sit perfectly in a line. The project teaches your hands what balance looks like. You’ll need yarn (any weight works), scissors, cardboard for making the pom poms, and a needle. Most people spend 2-3 hours on their first one, and the result looks like you know what you’re doing.
Wooden Storage Box
Next, build a simple wooden storage box with a stained finish. This is where you touch woodworking for real—measuring twice, cutting once, that kind of thing. A basic box is about 12 inches long, 8 inches wide, and 6 inches tall. You’ll use pine boards, wood glue, small nails, sandpaper, and stain. The sealing part matters because it protects your work. A clear polyurethane coat on top keeps moisture out and makes the wood last longer.
Mixed-Media Canvas
Finally, try a mixed-media canvas combining paint, fabric scraps, and found objects. This one feels more forgiving because there’s no single “right way” to do it. Grab a 16 by 20 inch canvas, acrylic paint, old fabric pieces, buttons, dried leaves, or whatever you’ve been saving. Glue things down, paint around them, layer as you go. The beauty is that mistakes just become part of the design.
Each project has full step-by-step tutorials available online. You already own most of what you need. People like us started in exactly this spot—a little nervous but curious enough to try something new.