
My dressing table used to be a pile of makeup, jewelry, and stuff I’d shoved in there and forgot about. I wanted to make it actually work for me—a place where I could get ready without feeling stressed. So I broke it down into five manageable steps.
The first thing I did was pick a color scheme that made sense for my room. I went with soft ivory as my base color and added brass accents throughout. This took maybe an hour of looking at paint samples and thinking about what already hung on my walls.
Next came the measuring phase, which sounds boring but really matters. I measured my dressing table—mine is 48 inches wide and 20 inches deep—and then mapped out where everything would go. I also checked the wall space above it to see how much room I had for a mirror frame.
I added trim around my mirror frame to give it a finished look. The frame itself was basic wood, so I painted it the same ivory shade as my color palette. This small detail made the whole setup feel more intentional.
For styling, I kept it simple and balanced. I placed two small potted succulents on one side and a brass trinket box on the other. A few brass candlesticks filled in the gaps without making things feel crowded.
I positioned two small chairs beside the table—one on each side—to anchor the space. Then I added throw pillows in the same soft fabrics that matched my walls. This connected the dressing table to the rest of my room instead of making it feel separate.
The whole project taught me that styling a functional space takes more planning than I expected. The payoff is worth it though, because now I actually want to sit there.
Start With a Dressing Table Color Palette
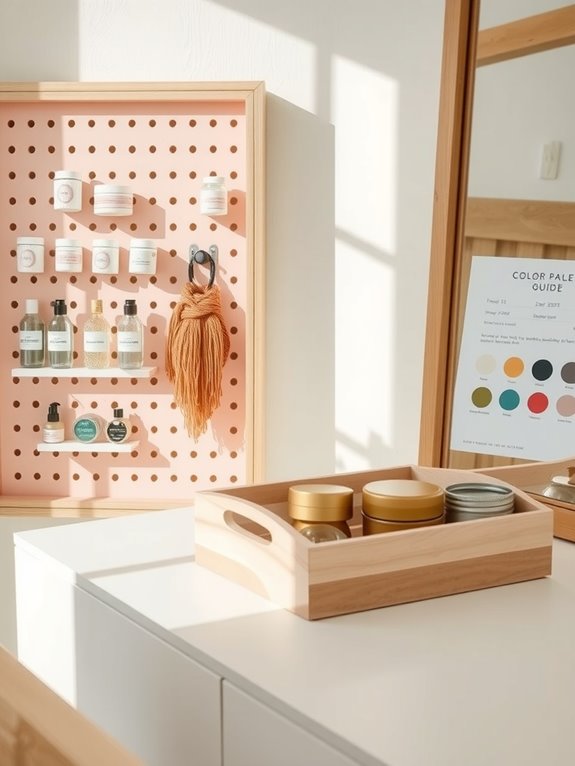
I’ve learned that picking your colors before you even open a paint can saves you from those moments when everything looks wrong together. Start by choosing one main color for the dresser, then pick a second color for the details that make it interesting. Add hardware in warm gold, bronze, or neutral tones to tie it all together.
Black, ivory, and warm metallics work really well together and create a feeling that’s both classic and inviting. I use Americana Decor chalky finish paint in Carbon and Yesteryear—these two paints give you that depth and contrast without being complicated. The key is testing your colors on scrap wood or cardboard first, where you can see exactly how they look next to each other without any risk.
This testing step matters because it stops you from buying full cans of paint that don’t work with your walls and other furniture. Once you know your colors work, your dressing table becomes the room’s main focus instead of clashing with everything around it.
Assess Your Space: Angles, Walls, and Available Room
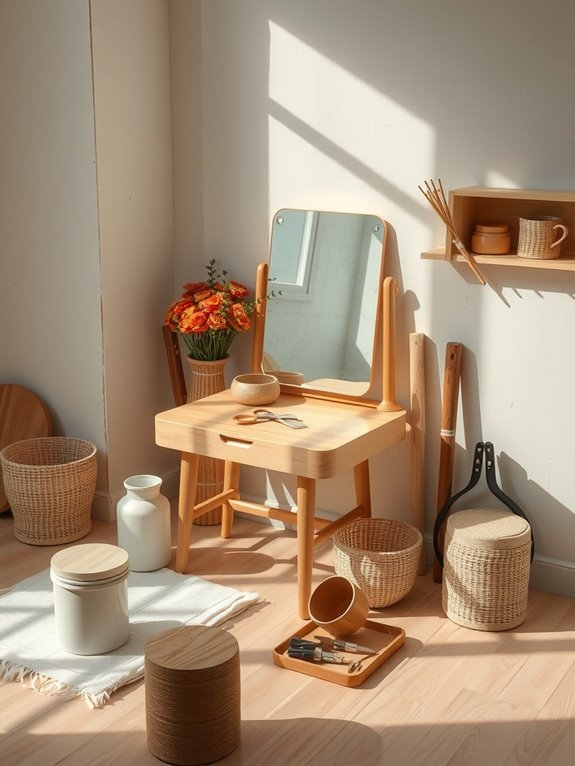
I always start by standing at my doorway to see what actually catches my eye when I walk in. Your dressing table becomes a focal point, so where you put it matters more than you’d think. I measure the wall space around it—checking angles and considering how other furniture like chairs fit naturally into the layout. Lighting is something I pay close attention to because glare from windows or nearby outlets can get annoying when you’re trying to apply makeup or skincare. I also look at the floor and think about whether a rug will anchor the space without making the room feel smaller or cluttered. Small practical details matter too, like keeping a paper towel dispenser within arm’s reach for quick cleanups, and these choices shape how well your dressing table actually works in your room.
Frame Your Dresser With Trim and a Mirror (Optional Wainscoting)
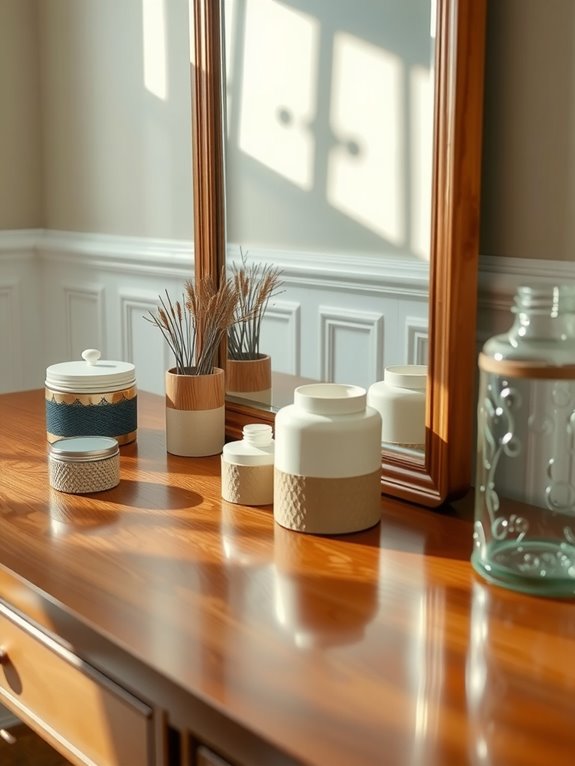
Once you know exactly where your dresser goes, the next step is framing it with trim and wainscoting to give the whole thing that built-in feeling. I’ve done this a few times, and it really does pull a room together in a way that feels intentional.
Here’s what I’ve learned works best. Paint your wainscoting white so it contrasts nicely with any accent walls you have—this makes your dresser stand out as the main focus of the space. The trim should sit taller than the top of your dresser itself, which sounds simple but actually matters because it lifts everything visually.
Above your dresser, add a mirror frame or a piece of artwork that echoes those trim lines. This creates balance and ties the whole setup together. Take careful measurements that match your dresser’s width and height before you start—say your dresser is 48 inches wide and 32 inches tall. Matching these dimensions when you install your trim and frame means everything looks like it belongs there, not like it was just thrown together.
Style Your Dressing Table With Plants and Accessories
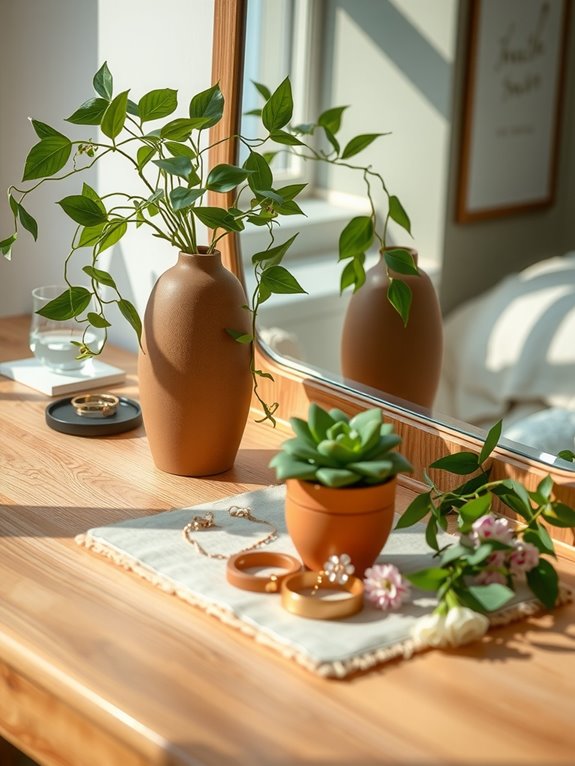
Now comes the fun part—bringing your dressing table to life with plants and accessories that actually feel like you. I’ve found that mixing small potted succulents with trailing greenery creates personality without overwhelming the space, and pairing these with a few brass trinkets, mirrored jars, or candles adds texture and warmth.
Here’s what I do: I stick to 4–5 complementary colors so everything feels intentional rather than chaotic. I balance taller elements—like a small sculpture or vase around 8–12 inches high—with low-profile plants to keep visual weight steady. Adding natural textures through woven trays or jute runners ties everything together.
The nice part about this setup is that you can rotate seasonally. Swap in spring florals or winter pinecones to keep your space fresh without cluttering it.
Complete the Look With Seating and Fabric Details
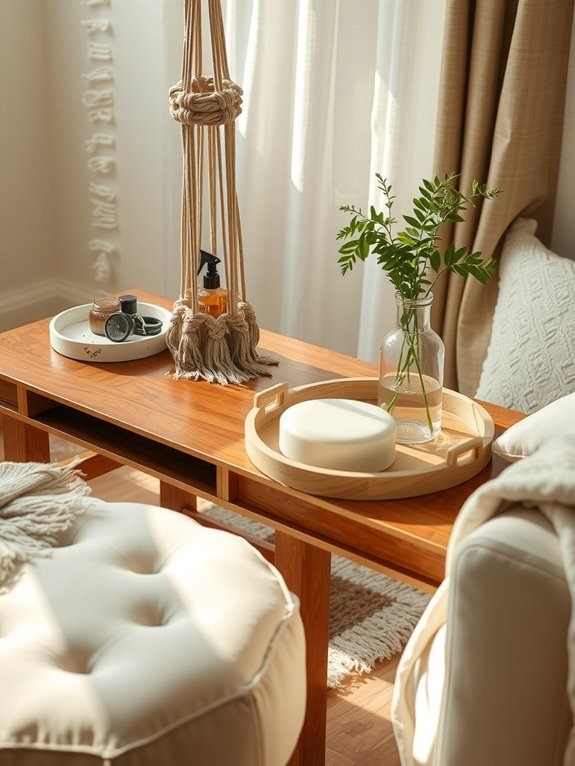
When I finish a dressing table setup, adding the right chairs and fabrics is what makes the whole thing feel like a real place to sit—not just a pretty decoration. I’ve learned a few things about pulling this together so it actually works.
Two small chairs positioned on either side of the table are my go-to move. I keep the seat height at about 18 inches, which lines up nicely with the table surface and gives comfortable arm reach without strain. The chairs need to feel connected to everything else, so I pick fabrics that echo my wall color or rug instead of fighting against them.
Pillows and throws add warmth without taking over. I choose colorful, smaller versions that don’t crowd the chair seat, and I’ve had good luck with lace doilies draped over the back—they pick up that vintage vibe without feeling fussy. These little fabric touches are what make someone actually want to sit down and stay for a bit.
Hanging a mirror or framed print on the nearby wall bounces light around and creates visual balance on either side of the table. The reflection helps the whole corner feel bigger and more intentional, which pulls all the seating and fabric details together into one cohesive spot.