
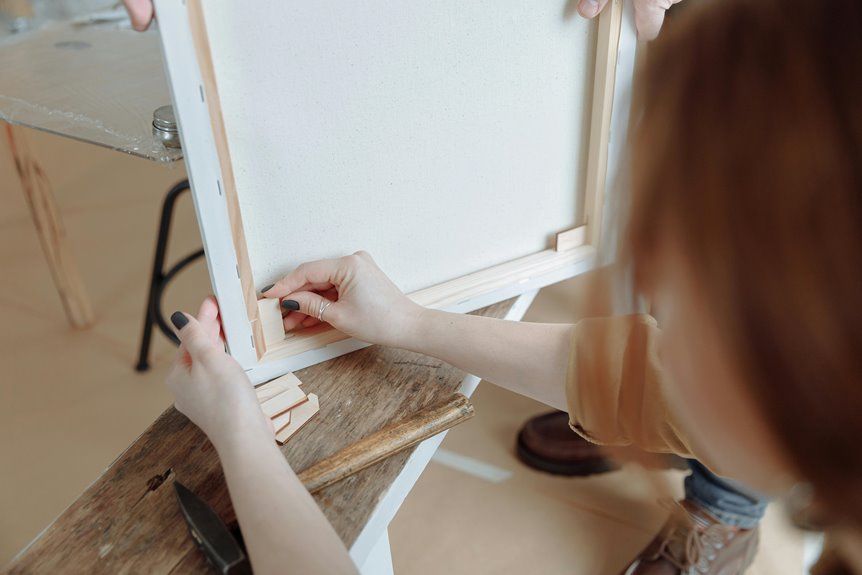
I’ve framed plenty of canvases, and honestly, it’s simpler than you’d think. All you really need is the right materials and about 15 minutes of your time. Let me walk you through each step so your painting stays secure and level on the wall.
Start by measuring your painted area carefully. You’ll want a frame that matches those exact dimensions, so grab a measuring tape and jot down the width and height. This step prevents the awkward gaps that happen when you guess.
Next, gather your materials: offset clips, D-rings, and picture wire. Offset clips are the metal pieces that hold your canvas snug inside the frame without damaging the stretcher bars. The D-rings are small metal loops that attach to the back, and the wire connects them to keep everything balanced.
Slide your canvas into the frame and position it so it sits evenly. Now take those offset clips and adjust them to match the depth of your stretcher. You want them tight enough to hold the canvas steady but not so tight that they dig in. This usually takes a few tries, and that’s normal.
Attach the D-rings about 4 to 6 inches down from the top corners on the back of the frame. Thread your picture wire through one D-ring, then across to the other one, leaving about 2 inches of slack in the middle. Twist the wire ends around themselves a few times to secure it. The slack matters because it distributes the weight more evenly when the frame hangs.
Step back and check that your canvas sits flush against the frame with no tilting or gaps. Look at it from different angles to make sure it’s level. A small level tool helps, but your eye usually catches any obvious problems.
Measure Your Canvas and Select the Right Frame Size
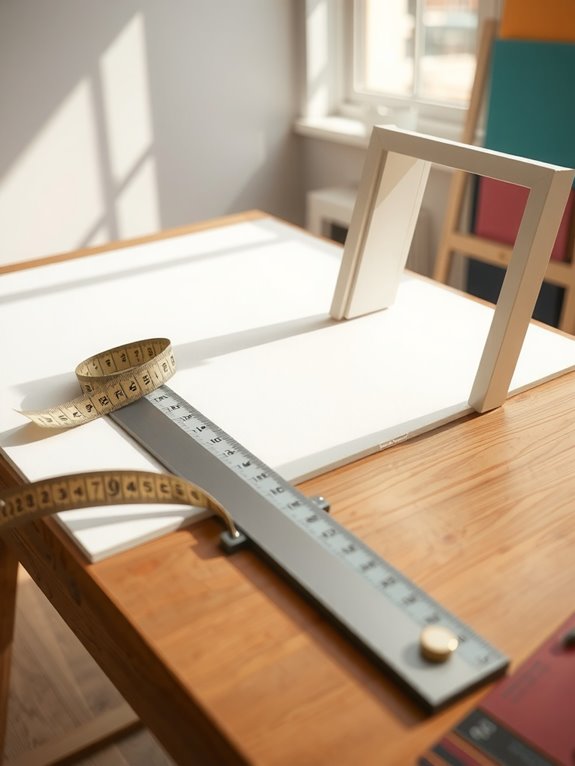
I used to just guess at frame sizes, and it never worked out well. The truth is, measuring your canvas properly before you do anything else makes the whole process so much smoother.
Measuring your canvas properly before you start makes the entire framing process so much smoother than guessing.
Start by measuring just the painted area—not the entire canvas, just the part with your actual artwork on it. Measure both the height and width, and those numbers become your outer frame dimensions. If your painting is 16 inches wide by 20 inches tall, that’s what you’re looking for in a frame.
Here’s the trick that saves me from expensive mistakes: I mark the back of my canvas with a rectangle that shows exactly where the painting boundaries are. Use a pencil or marker to draw this guide right on the back surface. When you’re ready to mount your canvas into the frame pieces, you’ll line up your painting using these marks, and it sits perfectly every time.
This method keeps things precise and professional without any guessing involved. Your painting goes exactly where it should, and the whole assembly comes together smoothly.
Gather Framing Hardware: Offset Clips, D-Rings, and Picture Wire
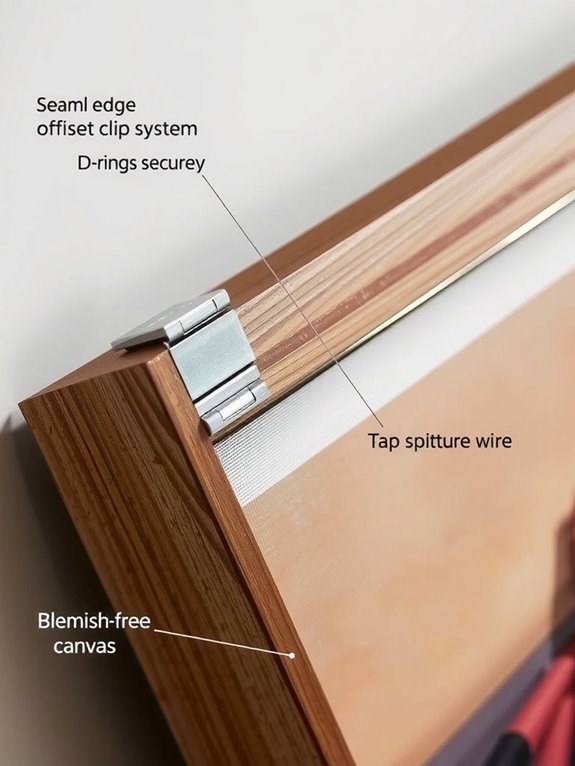
What makes the difference between a canvas that hangs securely and one that shifts around inside its frame? The right framing hardware. I’ve learned that offset clips are your best friend—they secure your canvas inside the frame without any front damage.
When I’m choosing clips, I match them to my frame depth and stretcher projection, then use short screws to prevent puncturing the frame front. This takes maybe five minutes per corner, and it’s worth every second.
The back of the frame is where the real work happens. D-rings are what you use to attach picture wire, and I’ve found that longer D-ring straps with two screws work best for heavier pieces. On smaller canvases, I install them about 4–6 inches from the top. For larger frames over 40 inches, I space them toward the corners instead.
Once the D-rings are in place, I string flexible picture wire between them. I loop and twist the wire to secure everything tightly. That’s honestly the whole system—offset clips on the front, D-rings and wire on the back, and your canvas stays put.
Install Offset Clips
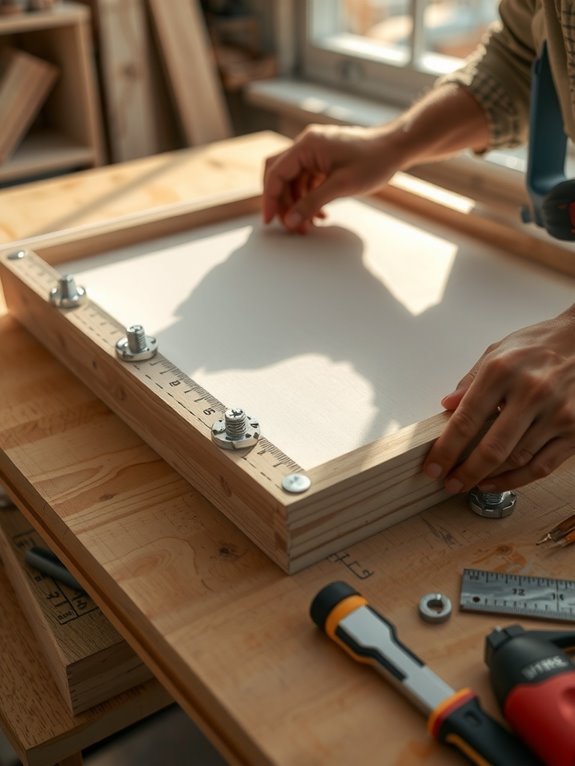
Now that your hardware is lined up, it’s time to actually install those offset clips and lock your canvas into place. I start by positioning my canvas carefully within the frame opening, then slide the offset clips underneath to match both the frame depth and stretcher projection.
For smaller pieces, I secure clips on top and bottom. Larger paintings need all four sides, with two clips per side on frames over 40 inches. The real trick is using short screws—they prevent puncturing your frame’s front and keep that clean appearance you’re after.
Once everything aligns properly, I tighten those screws down, making sure my mounted canvas sits secure without warping.
Attach D-Rings and String Picture Wire
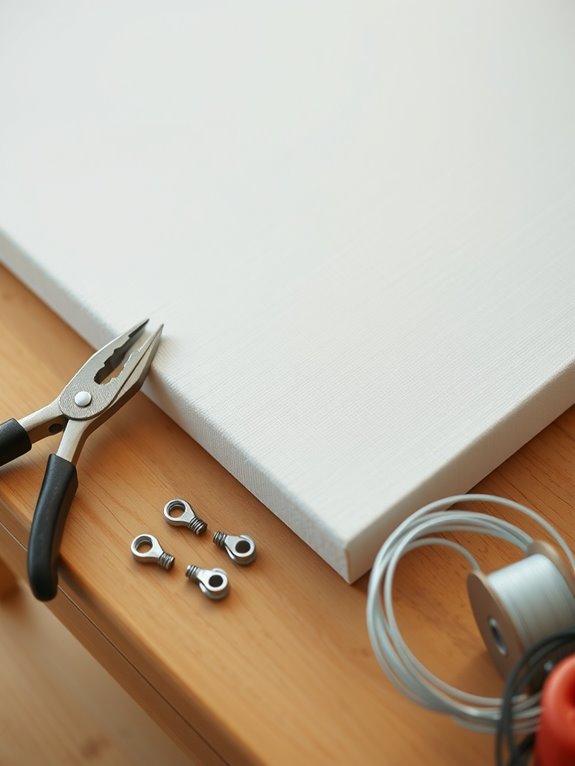
You’re almost there. With your canvas secured, it’s time to add the hardware that’ll actually hold your painting on the wall.
Proper hanging hardware really does matter. I’ve made plenty of mistakes with this step, so here’s what I’ve learned works.
Position D-rings on both sides of your frame, placing them 4–6 inches from the top on smaller pieces and 6–10 inches on larger ones. Keep them equally distant from the edges so your frame hangs level. Use short screws to avoid puncturing through to the front—I learned that lesson the hard way and don’t recommend it.
Thread picture wire through both D-rings and create a loop by twisting the wire around itself between them. Make it taut enough that it doesn’t sag, but not so tight that you’re straining to tie it off.
Before you hang it on the wall, test the whole setup by gently lifting the frame. The wire shouldn’t slip, and the weight should feel evenly supported on both sides. I always do this verification step because I’d rather catch a problem now than have my frame slip sideways after it’s already hanging.
Check Frame Depth and Resolve Common Display Issues
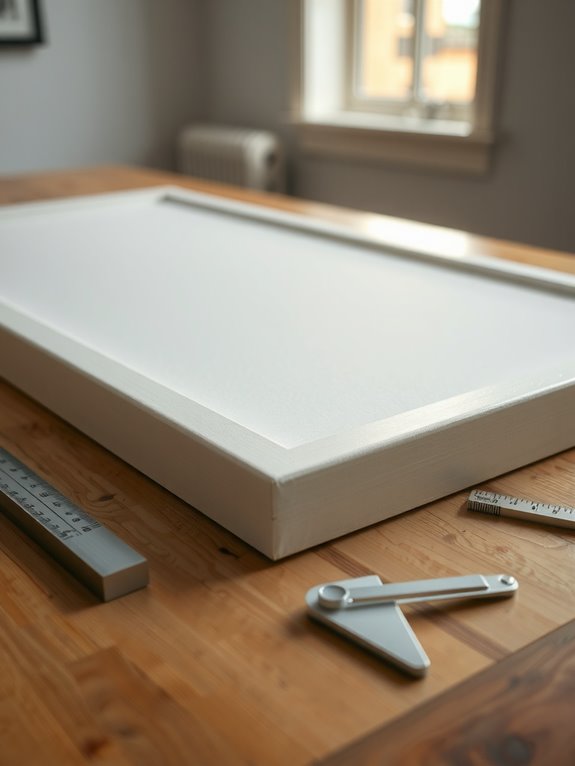
When I first started framing canvases, I didn’t realize how much a depth mismatch between the frame and stretcher would actually bug me every time I walked past. Turns out, matching your frame depth to your canvas stretcher projection—usually 3/4 inch—prevents that awkward visual gap that your eye catches immediately.
If your depths don’t line up perfectly, offset clips work well, especially for frames over 40 inches where I use two clips per side. The tricky part is keeping the canvas from touching the wall. Most offset-clip frames cause wall contact unless you match the depths or go for a floating frame look.
Walk around and look at your setup from different angles before you decide it’s finished. Sometimes a little wall contact actually looks fine and doesn’t bother you. If it does bother you, try flat clips instead or adjust the rabbet. These small details in how you frame your piece really do matter in how it looks when it’s hanging.